Day 26
August 17: Stickers!
To see the live chat in real time watch this video on YouTube here.
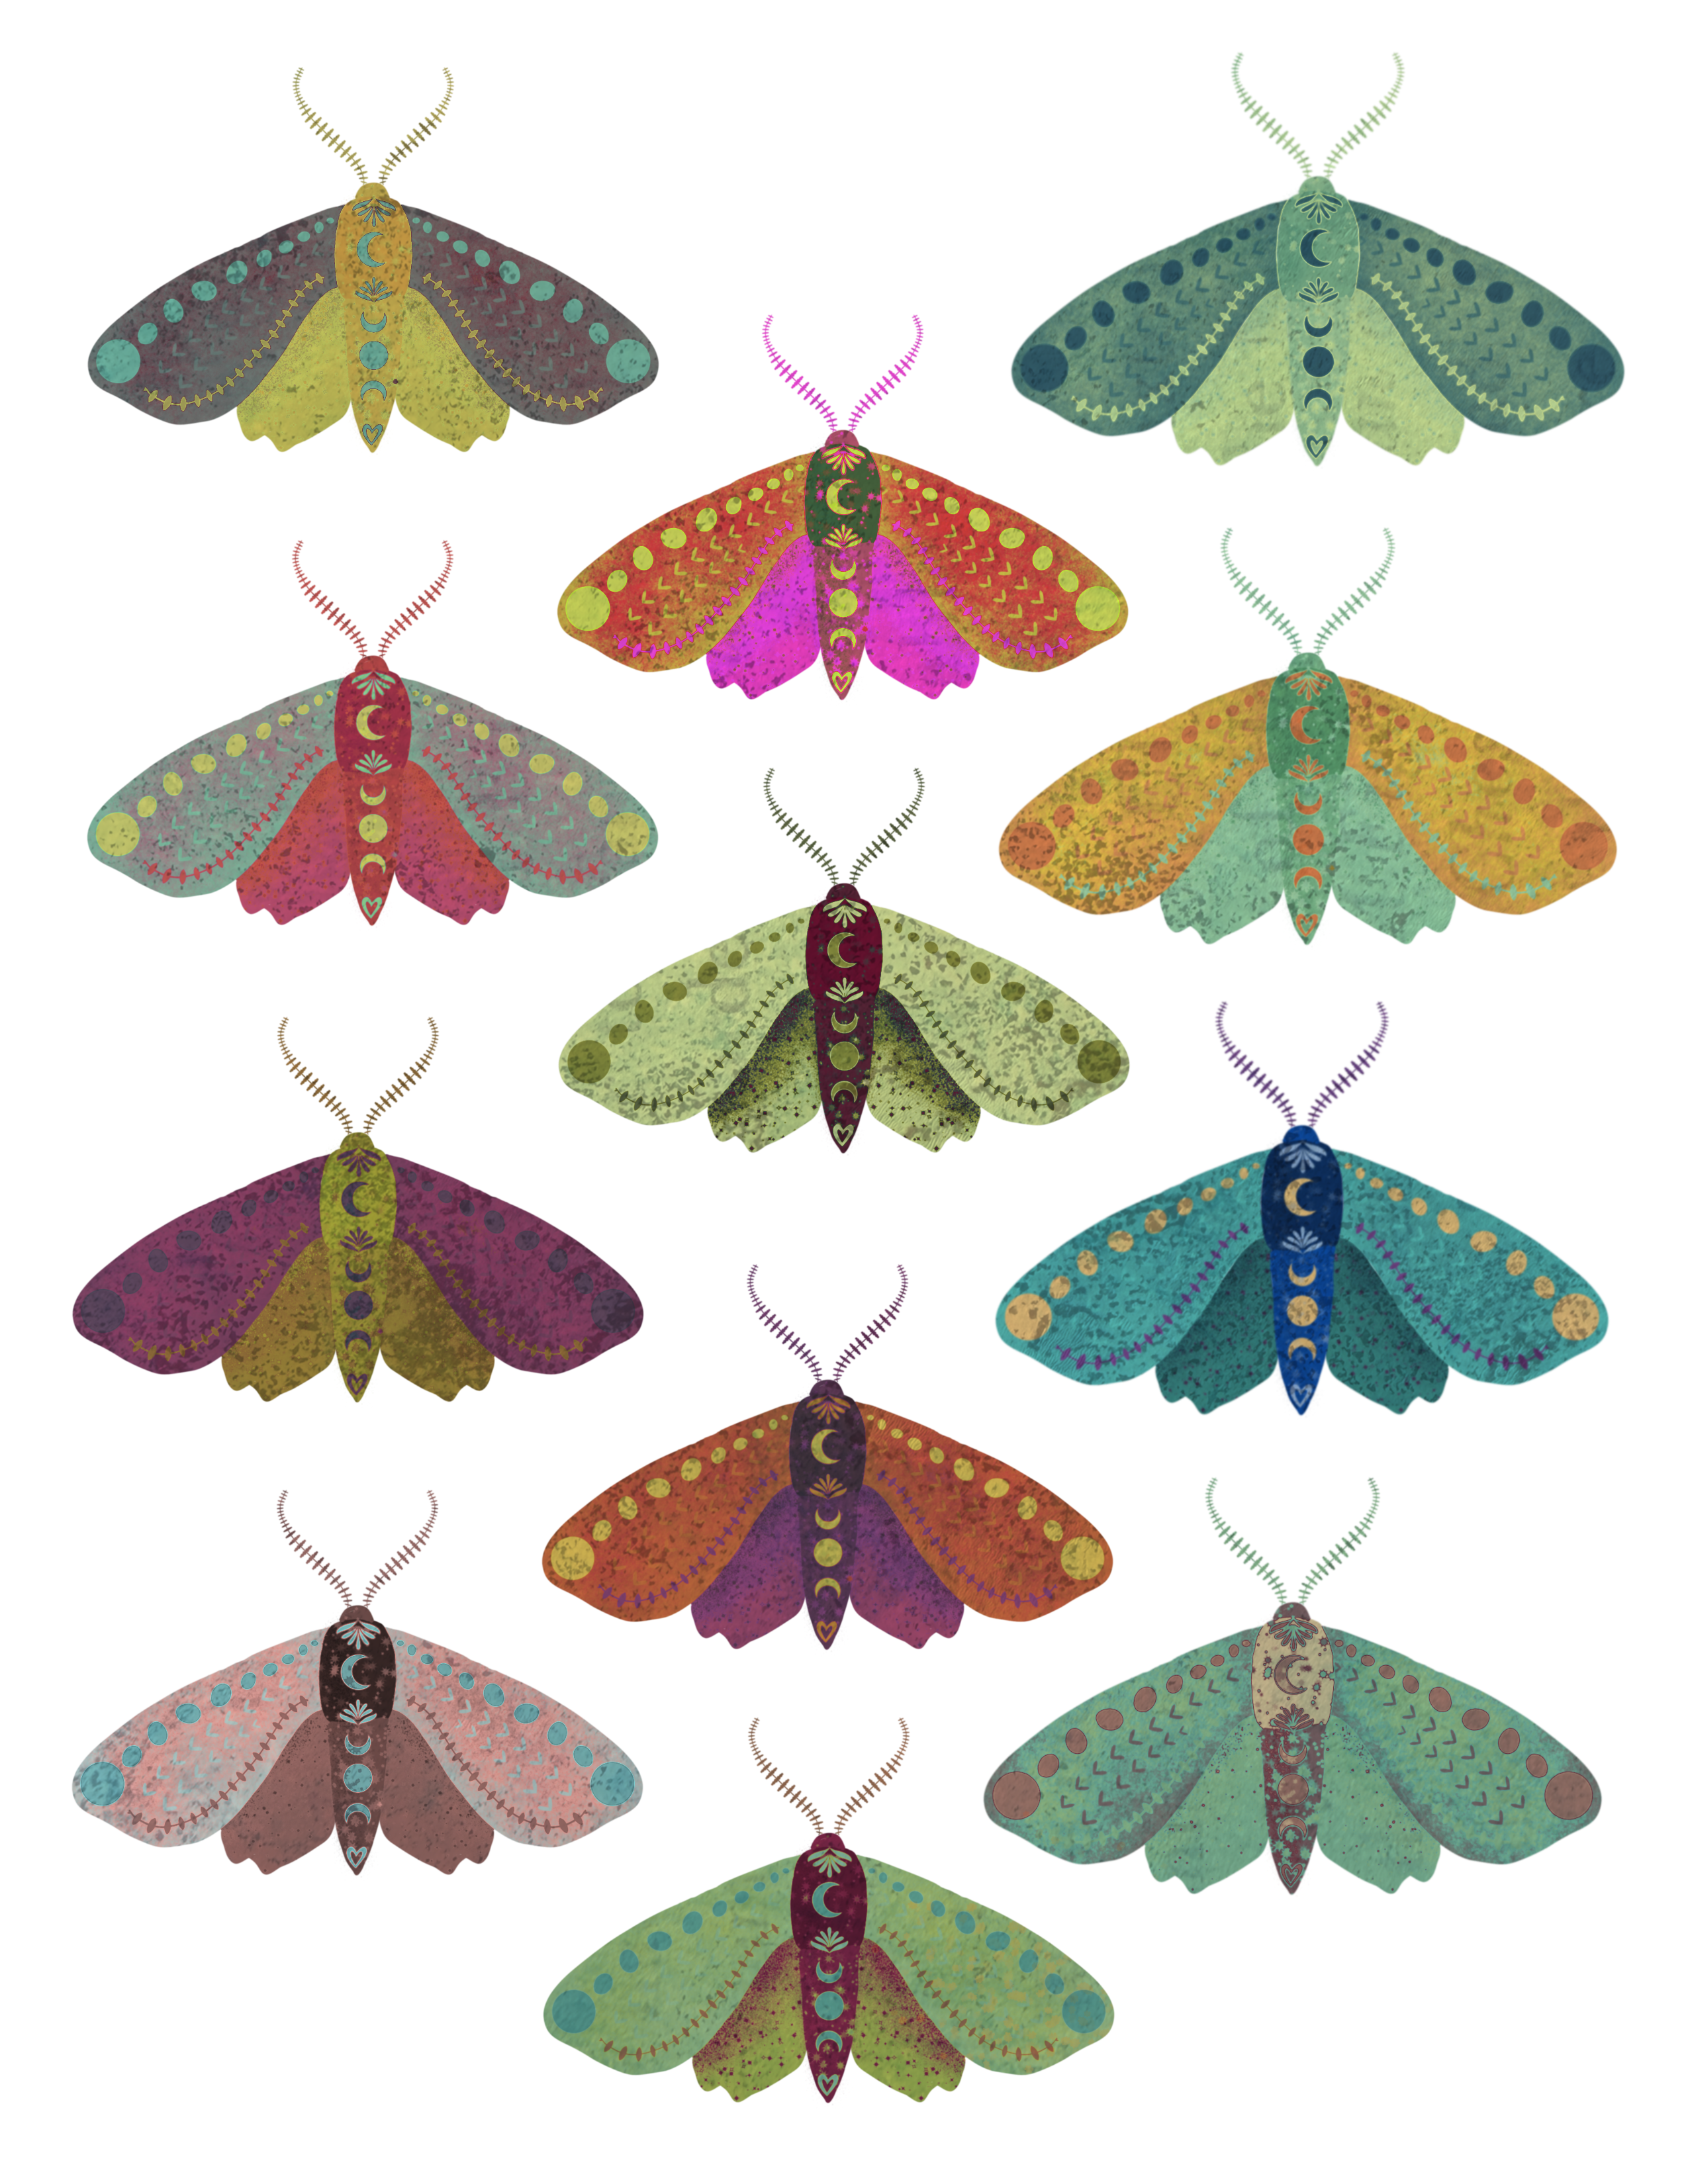 Download and print
Print & Cut Your Moth Sticker Sheet on a Cricut
- Upload the PNG. In Cricut Design Space, click Upload → Upload Image, and select your moth sheet PNG.
- Insert to canvas. Click Insert Image to place it on your mat.
- Confirm Print Then Cut is active. With the image selected, look for the printer icon in the Layers panel — that means Cricut will print the image, then cut around it using the registration marks.
- Set your cut line margin. Click on the image, then open the Contour tool in the top toolbar (this controls the offset/margin for your cut line). Alternatively, some versions show this as an Offset option in the side panel. Enter a small value — around 0.05" to 0.1" — to push the cut line out slightly from the artwork, giving you that thin white sticker border instead of a cut line that hugs the design too tightly.
- Click Make It. Select "Print then Cut" when prompted.
- Print the sheet. Print onto your sticker paper — make sure your printer settings are set to Actual Size / 100%, not "fit to page," or the registration marks will be off.
- Load and cut. Place the printed sheet on your mat, load into the Cricut, and select your material (sticker paper, or the closest vinyl/matte setting if not listed). The machine reads the registration marks and cuts along your set margin automatically.
- Peel and weed. Peel up the excess paper around each cut line, and you've got your finished stickers.
- Right-click (or control click for mac, press and hold on mobile) on the image and choose "Save Image As" (or "Download Image").
- Save it to a folder you'll remember — like "Day 1 Journal Files."
- Open the saved JPEG and print at 100% / actual size (not "fit to page") so nothing gets cropped or stretched.
- Print on whatever paper you're testing today — plain, cardstock, watercolor, whatever's on hand.
Tip: if the image opens directly instead of downloading, just right-click anywhere on it for the save option.
The Little Photo printer I love
I like this vinyl sticker paper
I am using this Cricut Machine
And this eco tank printer